How to Fix a Toilet Flapper That’s Not Sealing or Closing Too Fast: A DIY Guide
Is your toilet running continuously, wasting water and racking up your utility bills? A faulty toilet flapper could be to blame. This small but vital component controls the water flow from the tank to the bowl, and when it fails, it can lead to significant water waste and frustration. Fortunately, fixing a toilet flapper is a straightforward process you can handle on your own.
In this guide, we’ll walk you through the common reasons why your toilet flapper may not be sealing correctly, provide step-by-step instructions to fix the issue, and give you tips on maintaining it to avoid future problems.
Why a Properly Sealing Toilet Flapper Is Crucial
A properly sealing toilet flapper ensures that water doesn’t continuously flow into the bowl after each flush. If the flapper fails to create a tight seal, it can lead to:
- Constant Running Water: This wastes gallons of water every day, which leads to higher water bills.
- Incomplete Flushes: If the flapper doesn’t close properly, your toilet may not flush efficiently, leading to multiple flushes.
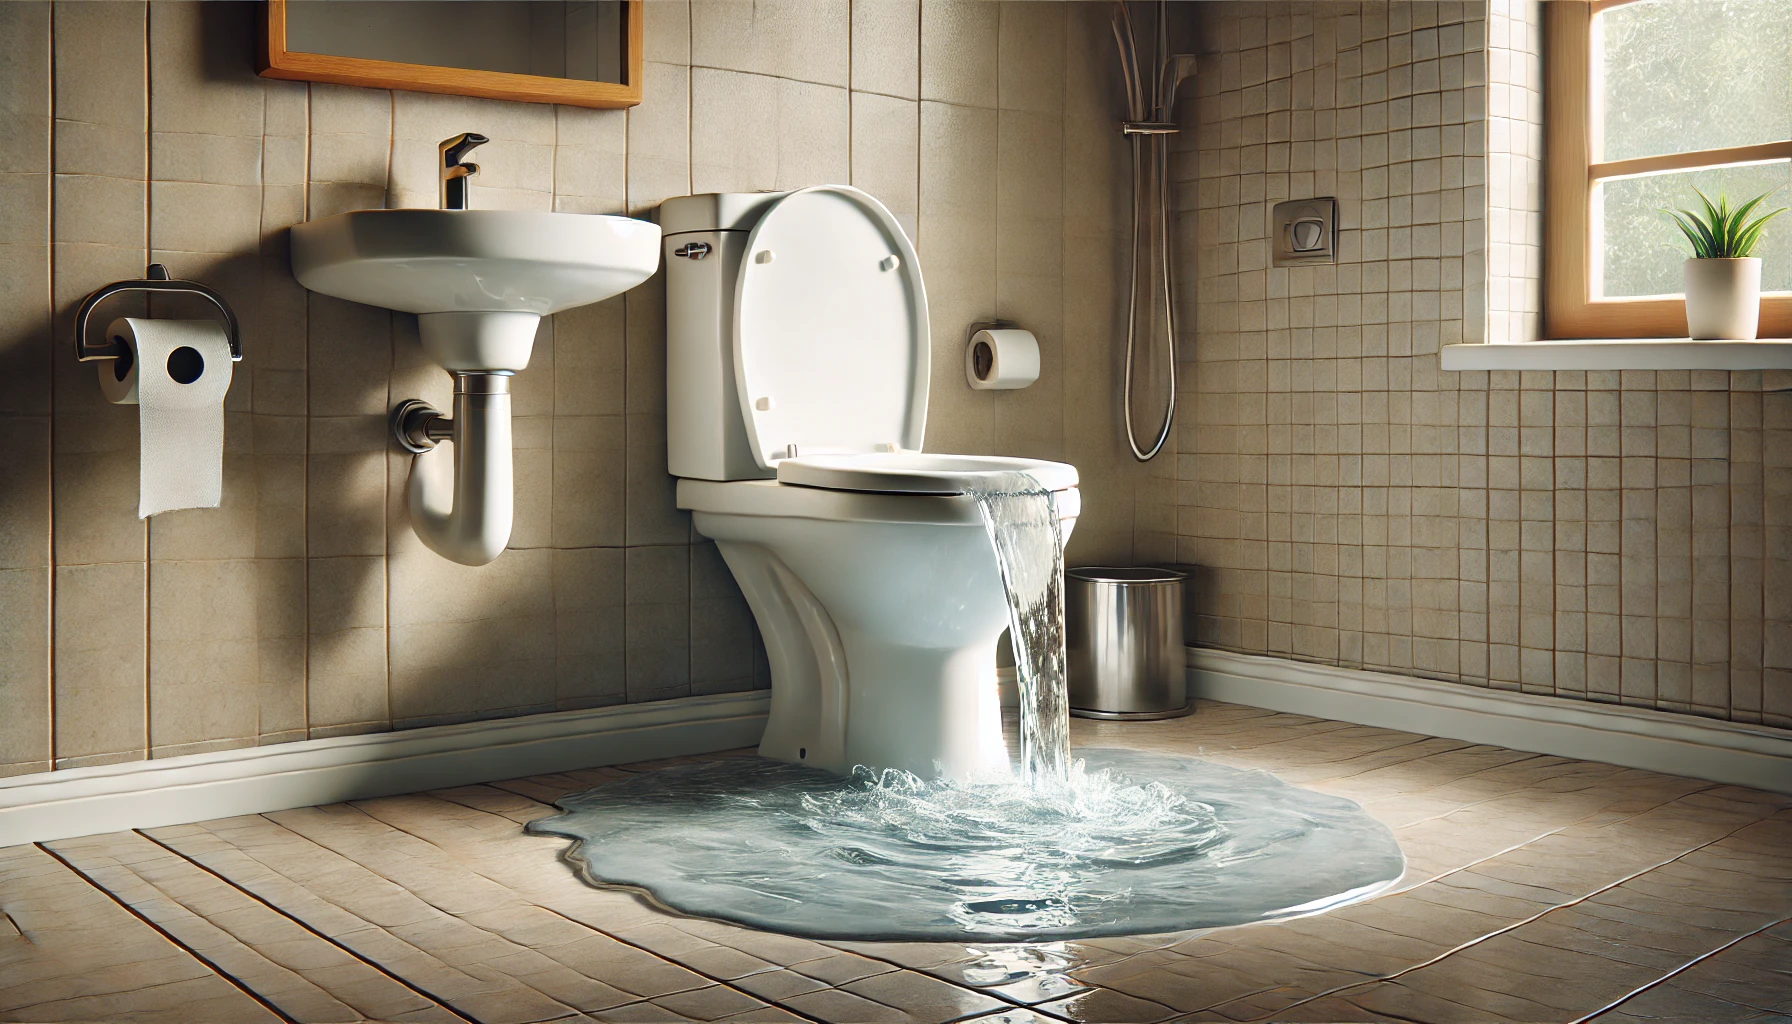
- Water Damage: Leaking water can seep onto the bathroom floor, causing potential damage to flooring and walls.
- Increased Utility Bills: The constant flow of water not only wastes resources but also inflates your monthly utility costs.
Recognizing the signs early can prevent these costly and inconvenient issues. Let’s dive into why your toilet flapper might not be sealing correctly and how you can quickly fix the problem.
5 Common Reasons Your Toilet Flapper Isn’t Sealing
1. Worn Out or Warped Flapper
Over time, the rubber material of the toilet flapper can deteriorate. It may become brittle, warped, or cracked, preventing it from forming a proper seal. This is one of the most common reasons for water wastage in toilets.
2. Mineral Build-Up
If you live in areas with hard water, mineral deposits from calcium and magnesium can accumulate on the flapper and flush valve seat. This build-up prevents the flapper from sitting properly against the valve seat, allowing water to leak continuously.
3. Flapper Chain Issues
The flapper chain that connects the flush lever to the flapper can be too tight, too loose, or tangled. This can prevent the flapper from closing completely or cause it to close too quickly, disrupting the flushing cycle.
4. Flush Valve Problems
If the flush valve seat, where the flapper rests, is damaged or uneven, the flapper won’t seal correctly. Even small irregularities can lead to leaks and poor flushing performance.
5. Improper Flapper Installation
If the flapper is misaligned or incorrectly installed, it may not fit snugly against the flush valve seat, causing leaks. Ensuring the flapper is installed correctly can resolve many issues.
Step-by-Step Guide: How to Fix a Toilet Flapper
How to Replace a Worn-Out Flapper
- Turn off the water supply to the toilet and flush to empty the tank.
- Unhook the chain from the flush lever.
- Remove the old flapper by detaching it from the overflow tube or pegs on the flush valve.
- Clean the flush valve seat thoroughly to remove any debris or mineral build-up.
- Install the new flapper, ensuring it’s properly aligned and securely attached.
- Reattach the chain, leaving a small amount of slack.
- Turn the water supply back on and test the flush.
How to Clean Mineral Build-Up
- Turn off the water supply and flush the toilet to empty the tank.
- Remove the flapper and soak it in a mixture of equal parts white vinegar and water for about 30 minutes.
- Scrub away mineral deposits with a soft brush.
- Clean the flush valve seat with the vinegar solution and brush.
- Rinse all components thoroughly and reinstall the flapper.
- Turn the water supply back on and test the flush.
How to Adjust or Replace the Flapper Chain
- Observe the chain’s tension when the flush lever is at rest.
- Adjust the chain length, leaving slight slack when the lever isn’t in use.
- If the chain is damaged or corroded, replace it with a new one.
- Ensure the chain doesn’t get tangled or caught on other components.
How to Repair or Replace the Flush Valve
- Inspect the flush valve seat for cracks, chips, or irregularities.
- For minor damage, smooth the surface with fine-grit sandpaper.
- If significant damage is found, replace the entire flush valve. This can be more complex and may require professional help.
How to Ensure Proper Flapper Installation
- Check that the flapper is aligned properly with the flush valve seat.
- Ensure the ears or pegs are securely attached to the overflow tube or flush valve.
- Verify that the flapper sits flat against the valve seat when closed.
Preventive Tips to Maintain Your Toilet Flapper
Keeping your toilet flapper in good condition is key to preventing future issues. Follow these tips:
- Inspect regularly for any signs of wear and tear.
- Clean the flapper and flush valve seat periodically to prevent mineral build-up.
- Avoid using harsh chemical cleaners, as they can degrade the flapper material.
- Replace the flapper every 4-5 years to ensure optimal performance.
- If you notice leaks or running toilets, address the problem promptly to avoid further damage.
When to Call a Professional Plumber
Although many flapper issues can be fixed with DIY solutions, there are times when it’s best to call in a professional plumber:
- If you’re uncomfortable performing the repairs yourself.
- If the problem persists after trying the fixes outlined above.
- If there’s significant damage to the flush valve or other toilet components.
- If you notice water damage or mold growth around the toilet.
By following these guidelines and preventive measures, you can ensure your toilet flapper works efficiently and your toilet remains in top condition. Whether you’re in a bustling city like Houston, Texas, or elsewhere, maintaining your plumbing system is a crucial step in both saving money and preserving water resources.
Conclusion
A malfunctioning toilet flapper can cause major water waste and increased utility bills. By understanding the causes of flapper failure and following the easy-to-implement fixes above, you can avoid unnecessary expenses. Regular maintenance and proactive repairs will ensure your toilet stays in top shape and helps conserve water—a valuable resource, especially in areas like Texas where water conservation is key.


